The chemistry of a water purifier
(Middle School science)
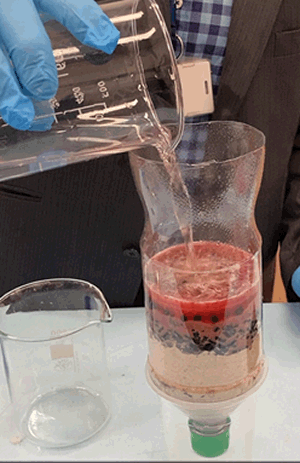
Access to pure drinking water is essential to survival. It is so important that militaries throughout the world have invested in finding ways of purifying polluted water so that it can be consumed in times of emergency.
Using your knowledge of chemistry and separating techniques, you are to design a low cost and effective way to purify a sample of polluted river water. How effective your water purifier is will be tested under laboratory conditions.
Task
Your goal is to produce and evaluate a cheap and effective water puffier that can turn polluted water into clear water with less pollutants than in the original dirty sample of water. You will use easily accessible items, such as plastic drinking bottles and river sand.
Materials
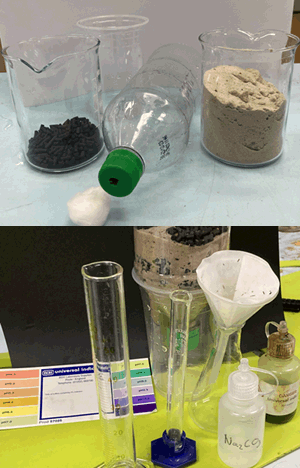
- 1 X 1.25 mL plastic bottle with the base cut out and the top drilled with a 5 mm hole.
- 1 X 500 mL beaker full of dry river sand
- 1 X 500 mL beaker quarter full of activated charcoal
- 2 X Cotton wool balls
- 1 X plastic cup.
- 2 X 10mL Measuring cylinders
- 1 X 100 mL Measuring cylinder
- 0.5 M Na2CO3
- Universal indicator
- 1 X filter paper
- 1 X small funnel
- 10.0 grams of NaHCO3
- 1 X stop-watch
- 500 mL of 0.5M Ca(OH)2
- 1 X 250 mL conical flask
- 1 X Small scissors
- 1 x small spatula
- 1 X universal indicator colour chart
Procedure
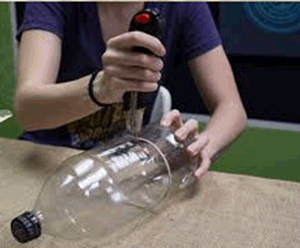
Step 1 – Cut the bottom out of the bottle as shown with
a small scissors.
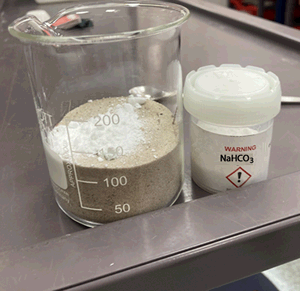
Step 2 – Using a spatula, thoroughly mix into the river sand
10 grams of NaHCO3 .
Step 3 – Place the cotton wool balls in the bottle near the cap with the hole.
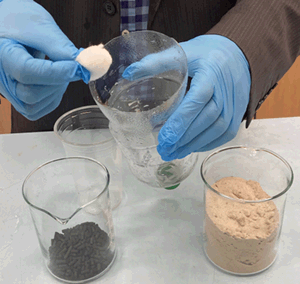
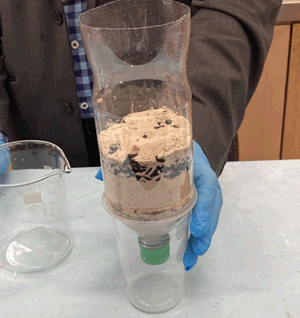
Step 4 – Empty half the sand in the bottle as shown in picture on the right. Shake the bottle to get the sand to settle onto the wool balls. Then pour the layer of activated charcoal on top of the sand. Make sure the layer of activated charcoal has a consistent depth. Pour the remainder of the sand over the activated charcoal.

Step 5 – Place a plastic cup underneath the water purifier and get ready to purify the contaminated water.
Step 6 – Using a 250 mL beaker collect a small sample of the contaminated water and filter it through filter paper into the 100 mL conical flask.
Take a 5 mL sample of the filtrate using a 10 mL measuring cylinder and add 3 drops of universal indicator. Using the universal colour chart provided identify the pH of the contaminated water.
pH of contaminated water = ________________________
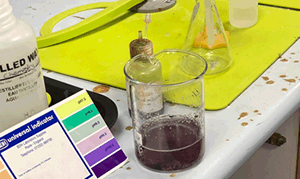
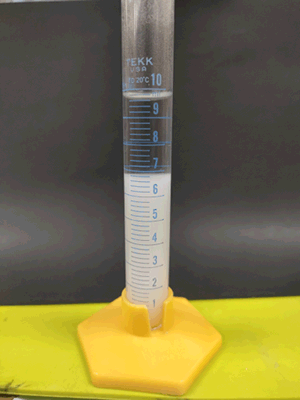
Step 7 – Using a clean 10mL measuring cylinder measure 5 mL of the filtrate and add 5 mL of 0.5M Na2CO3. The 10mL measuring cylinder should now have 10mL of a cloudy solution, as shown on the right.
Step 8 – Allow the cloudy suspension formed in the 10mL measuring cylinder to stand for 30 minutes and record the height of the white column formed, as shown on the right. The height white column indicates the amount of salt present in the water, the higher the column the greater the amount of salt in the solution.
Step 9 – Pour the rest of the contaminated water, that you have been supplied with, through the water purifier and collect the purified water in the cup.
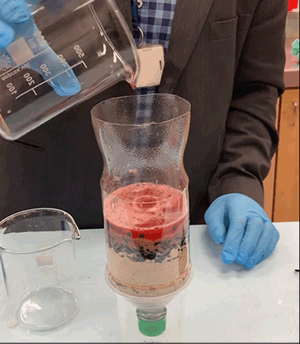
Step 10 – Test the purified water for :
- salt content as in steps 7 and 8.
- pH as in step 6.
|
Polluted water |
Purified water |
pH |
|
|
Colour |
|
|
Salt content |
|
|
Does the water purifier work as you expected? Refer to the data you have collected when answering the question.
Is the water safe to drink? Explain